The Robot Operating System, or ROS, is a so-called meta-operating system for robot development. Basically, it is a framework including libraries, tools, modules and complete solutions to make a robot do what you want.
ROS2 is the second major version of ROS. It features some significant changes that seek to address some of the shortcomings of ROS. More details can be found in the Overview of ROS2 page.
Installing ROS2
The easiest and most reliable way to install ROS2 on your machine is to install it on an Ubuntu based system. Make sure you have Ubuntu installed on your system before you proceed as this guide will be based on Ubuntu. The instructions provided in this guide are from the official ROS2 Foxy installation.
Start your computer and log in. You will see the Ubuntu desktop.
Open a web browser, like Firefox, and search for the ROS2 Foxy installation website.
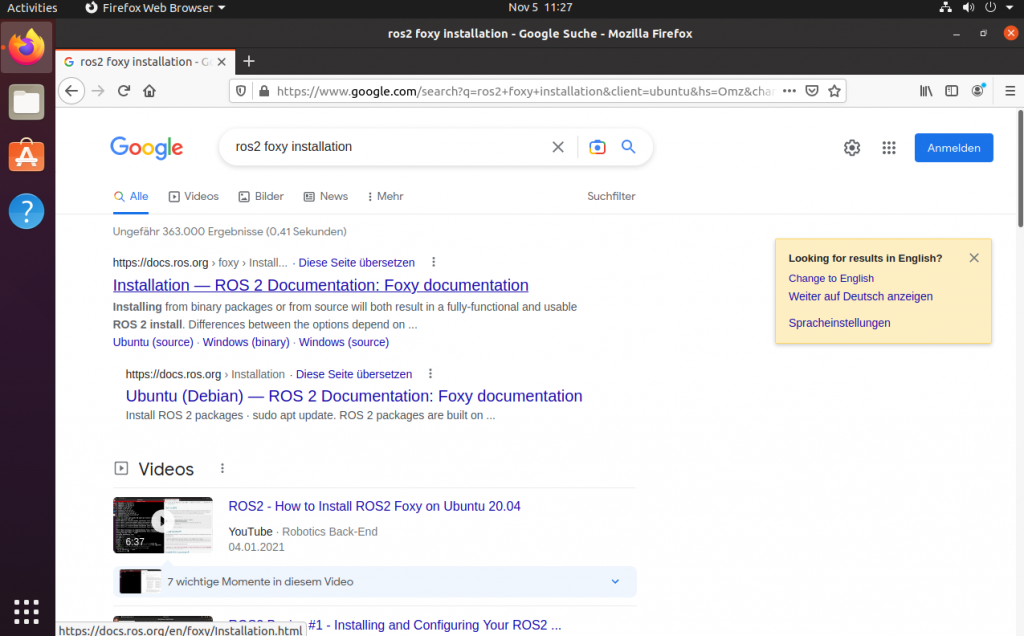
Go to the ROS2 website: https://docs.ros.org/en/foxy/Installation.html.
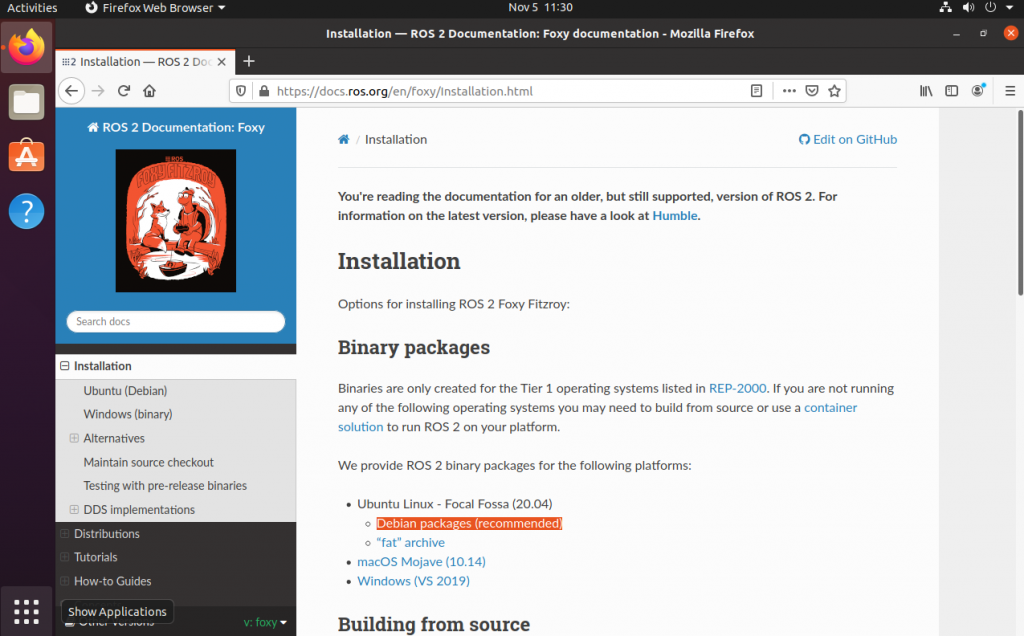
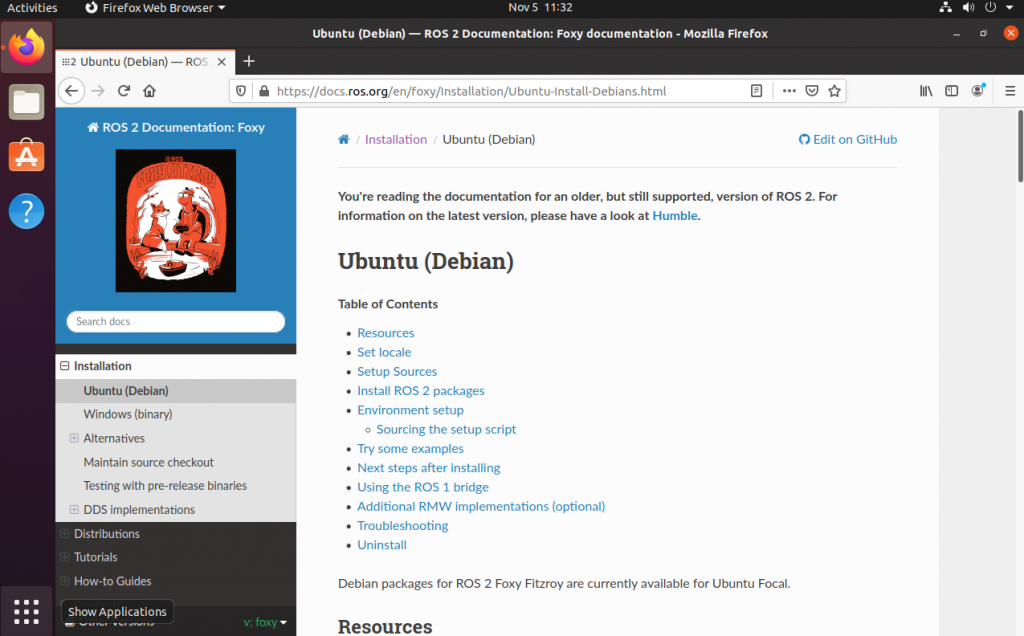
Under “binary packages”, chose the link for “Debian packages (recommended)”. This brings you to the following website: https://docs.ros.org/en/foxy/Installation/Ubuntu-Install-Debians.html.
Note: The following sections will use some common commands for the bash shell. One of them is sudo which is the way to tell bash to run the given command with administrator rights. This will usually require you to type in your password. Another common command is apt which is calling the package manager. The package manager is responsible for installing, updating and removing software from the official repositories on your system.
Open a terminal by pressing the super key, also known as the Windows key, and type “terminal”. Then press enter or click on the terminal icon.
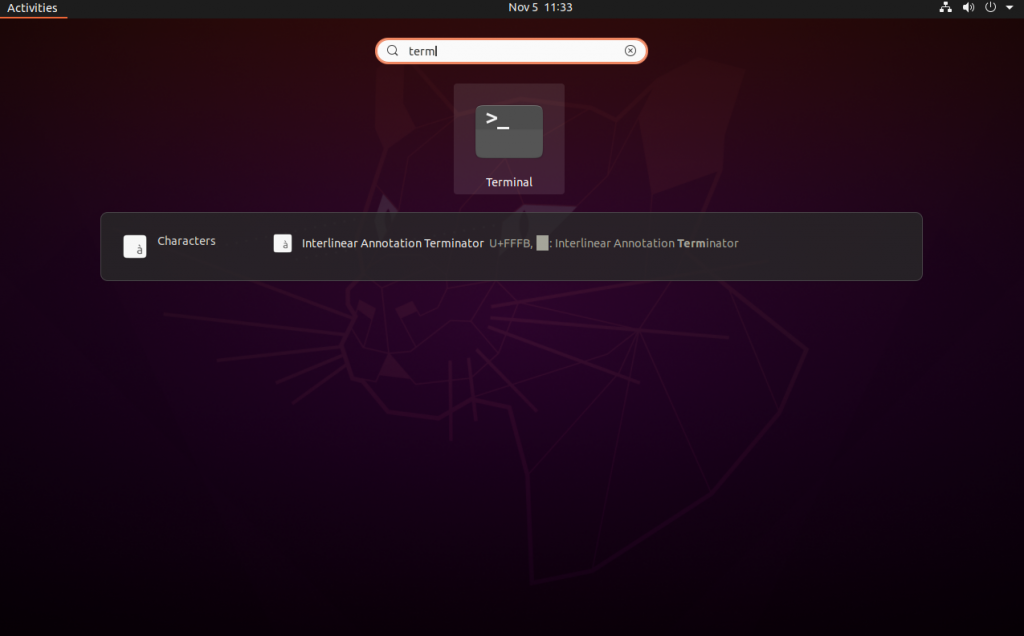
A new window should open with a terminal prompt.
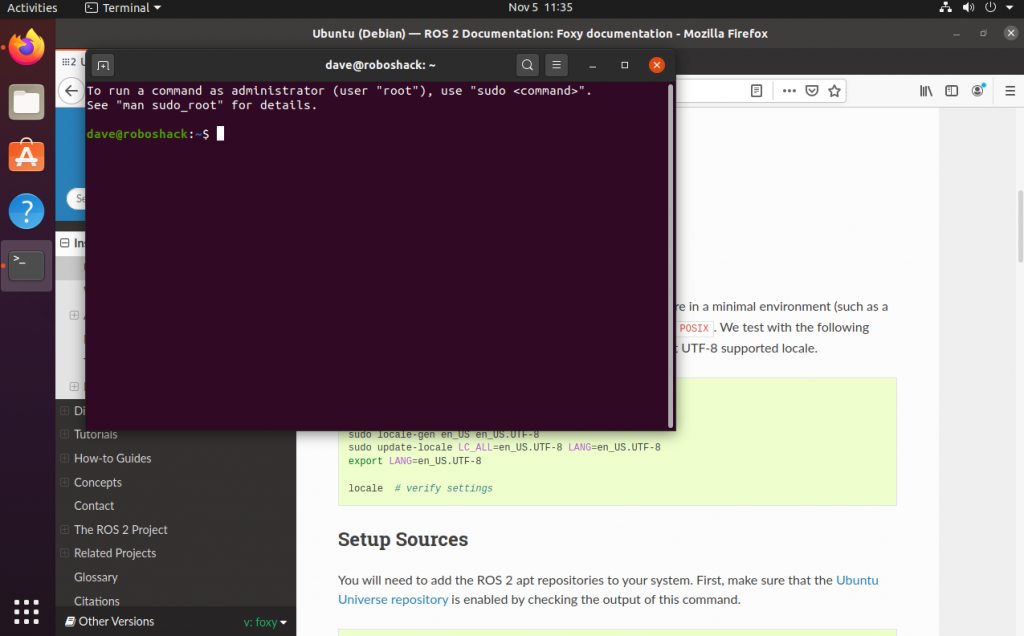
Now, you are ready to start the installation process. Note that you can paste the code with CTRL+SHIFT+V instead of only CTRL+V.
Note: The commands that you need to copy will be shown with an $ in-front. This $ sign should not be copied when you simply copy and paste the commands. The $ shows to the user that these commands should be used as a non-root user. If you are supposed to be logged in as a root user (with administrative rights), the # sign will be placed instead.
Setting locales
$ locale # check for UTF-8This gives the following output:
dave@roboshack:~$ locale # check for UTF-8
LANG=en_US.UTF-8
LANGUAGE=<br>LC_CTYPE="en_US.UTF-8"<br>LC_NUMERIC=de_LU.UTF-8
LC_TIME=de_LU.UTF-8
LC_COLLATE="en_US.UTF-8"
LC_MONETARY=de_LU.UTF-8
LC_MESSAGES="en_US.UTF-8"
LC_PAPER=de_LU.UTF-8
LC_NAME=de_LU.UTF-8
LC_ADDRESS=de_LU.UTF-8
LC_TELEPHONE=de_LU.UTF-8
LC_MEASUREMENT=de_LU.UTF-8
LC_IDENTIFICATION=de_LU.UTF-8
LC_ALL=
Then install the locales for your country:
$ sudo apt update && sudo apt install locales
$ sudo locale-gen en_US en_US.UTF-8
This gives the following output:
dave@roboshack:~$ sudo locale-gen en_US en_US.UTF-8
Generating locales (this might take a while)…
en_US.ISO-8859-1… done
en_US.UTF-8… done
Generation complete.
Then continue to set the locale settings:
$ sudo update-locale LC_ALL=en_US.UTF-8 LANG=en_US.UTF-8
$ export LANG=en_US.UTF-8
$ locale # verify settings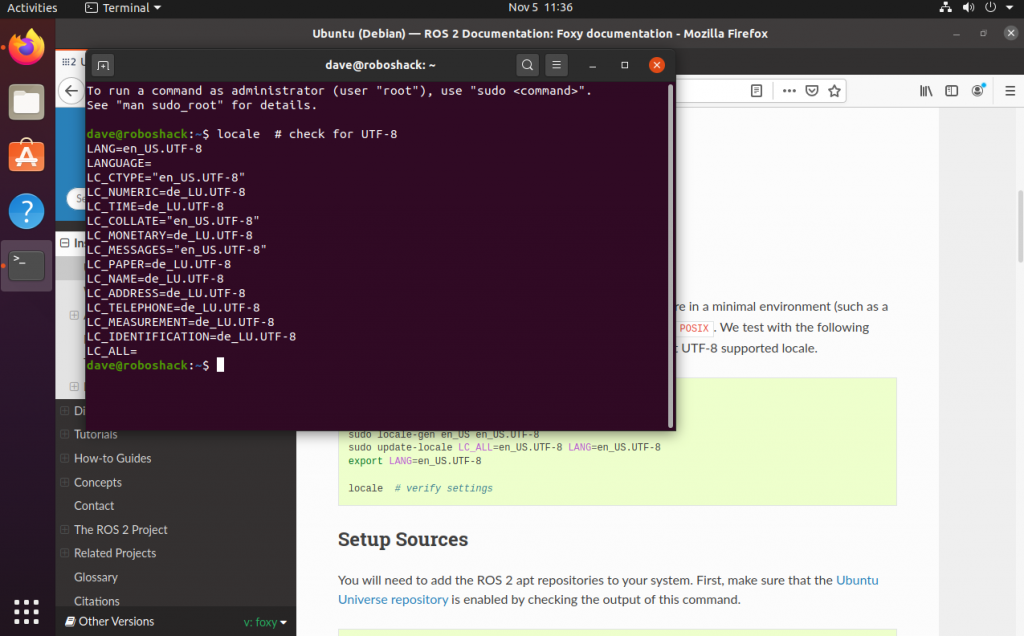
Setup sources
Next, you need to set the sources for the ROS2 repositories.
$ apt-cache policy | grep universeThis gives the following output:
dave@roboshack:~$ apt-cache policy | grep universe
500 http://security.ubuntu.com/ubuntu focal-security/universe i386 Packages
release v=20.04,o=Ubuntu,a=focal-security,n=focal,l=Ubuntu,c=universe,b=i386
500 http://security.ubuntu.com/ubuntu focal-security/universe amd64 Packages
release v=20.04,o=Ubuntu,a=focal-security,n=focal,l=Ubuntu,c=universe,b=amd64
100 http://lu.archive.ubuntu.com/ubuntu focal-backports/universe i386 Packages
release v=20.04,o=Ubuntu,a=focal-backports,n=focal,l=Ubuntu,c=universe,b=i386
100 http://lu.archive.ubuntu.com/ubuntu focal-backports/universe amd64 Packages
release v=20.04,o=Ubuntu,a=focal-backports,n=focal,l=Ubuntu,c=universe,b=amd64
500 http://lu.archive.ubuntu.com/ubuntu focal-updates/universe i386 Packages
release v=20.04,o=Ubuntu,a=focal-updates,n=focal,l=Ubuntu,c=universe,b=i386
500 http://lu.archive.ubuntu.com/ubuntu focal-updates/universe amd64 Packages
release v=20.04,o=Ubuntu,a=focal-updates,n=focal,l=Ubuntu,c=universe,b=amd64
500 http://lu.archive.ubuntu.com/ubuntu focal/universe i386 Packages
release v=20.04,o=Ubuntu,a=focal,n=focal,l=Ubuntu,c=universe,b=i386
500 http://lu.archive.ubuntu.com/ubuntu focal/universe amd64 Packages
release v=20.04,o=Ubuntu,a=focal,n=focal,l=Ubuntu,c=universe,b=amd64
Here, the last line shows that the “universe” repository is already available. If this is not the case, you would need to add them. For this, have a look at the official instructions:
500 http://lu.archive.ubuntu.com/ubuntu focal/universe amd64 Packages
release v=20.04,o=Ubuntu,a=focal,n=focal,l=Ubuntu,c=universe,b=amd64
Run the following command:
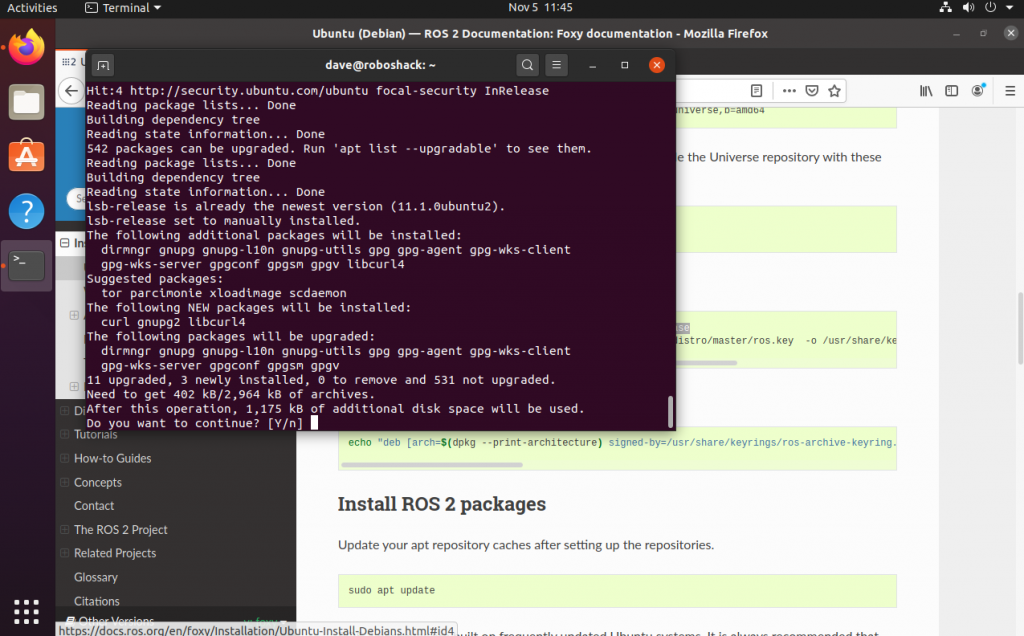
$ sudo apt update && sudo apt install curl gnupg2 lsb-releaseThis will cause the terminal to prompt for input. Type “y” to confirm and hit enter. This will install the programs curl, gnupg2 and lsb-release.
Next, use the following command which will add the gpg keys to your systems keyring. This allows your computer to make sure it only uses verified packages:
$ sudo curl -sSL https://raw.githubusercontent.com/ros/rosdistro/master/ros.key -o /usr/share/keyrings/ros-archive-keyring.gpgNow, the respective repositories will be added to the repository list so that ROS2 packages can be installed through apt install.
$ echo "deb [arch=$(dpkg --print-architecture) signed-by=/usr/share/keyrings/ros-archive-keyring.gpg] http://packages.ros.org/ros2/ubuntu $(source /etc/os-release && echo $UBUNTU_CODENAME) main" | sudo tee /etc/apt/sources.list.d/ros2.list > /dev/nullInstall ROS2 packages
First, update the systems package list and then upgrade the existing packages:
$ sudo apt update
$ sudo apt upgrade
This step can take a while, depending on the number of programs you already have installed on the system.
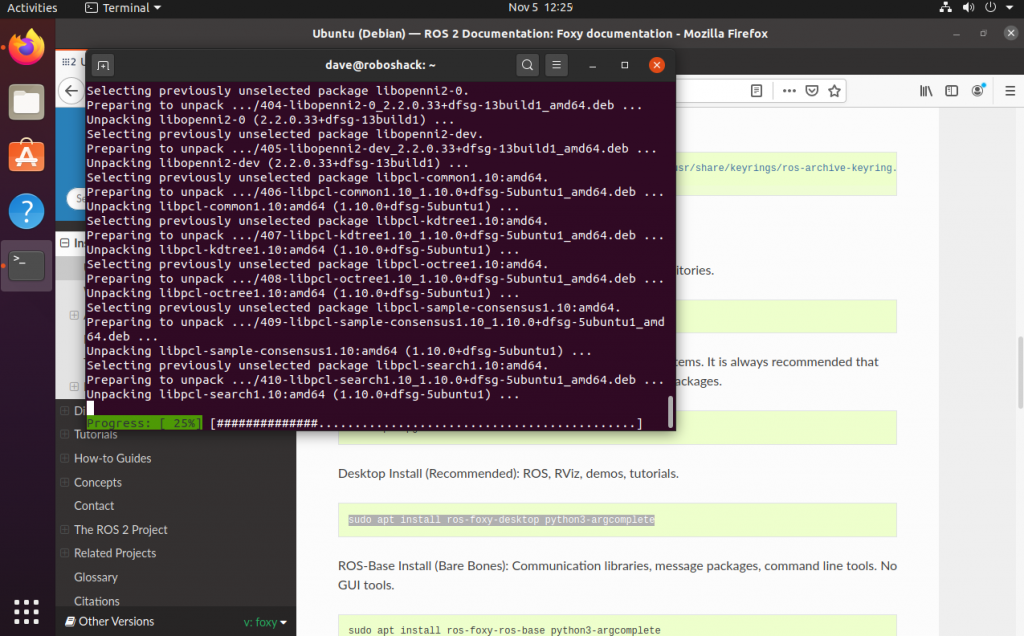
Then, install the ros2-foxy-desktop package:
$ sudo apt install ros-foxy-desktop python3-argcompleteThis step will take up to 20 minutes to install all the important ROS2 packages for the base installation for desktop use. The desktop version will also install the tools necessary for visualisation and for simulation.
Test your installation
To test if the installation was successful, use:
$ source /opt/ros/foxy/setup.bash
$ ros2 run turtlesim turtlesim_node
The turtlesim window should open up.
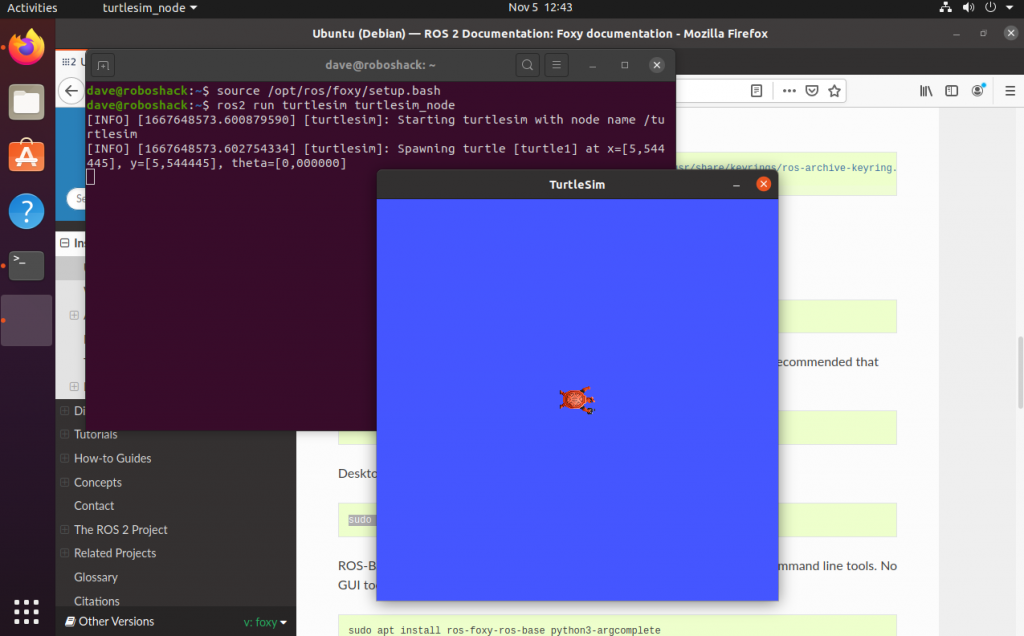
Now, you can close the turtlesim node with CTRL+C.
Setup workspace
If you want to create your own code, you need to create a workspace for your ROS2 projects. Create an empty folder and call it ros2_ws or give it any other name you want. At the same time, inside this new directory, you need to create a folder called src that will contain the source code of your packages:
$ mkdir -p ~/ros2_ws/src/Before you can build your workspace, you need to install the colcon build tools:
$ sudo apt install python3-colcon-common-extensionsColcon is a build tool that allows to build multiple packages with one command and takes care of the dependencies so that the packages are built in the correct order.
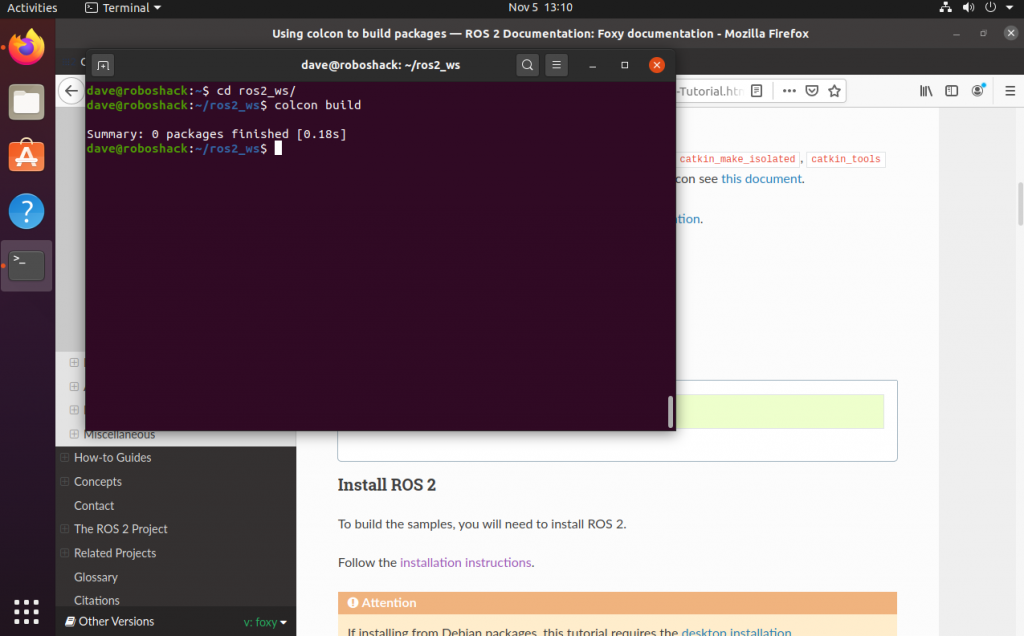
Now, you can enter the ros2_ws directory and build the workspace:
$ cd ros2_ws
$ colcon build
Now, after you have run the colcon build command, three new directories have been generated: build, install and log. The build directory contains temporary files necessary to create the binaries of the compiled packages. The install directory contains the final binaries after compilation. The log directory contains logged information about the build process.
To use this workspace and its packages, you need to make it active by sourcing it:
$ source install/local_setup.bashThere is also a file called install/setup.bash which also does the same, except that it also sources the /opt/ros/foxy/setup.bash file.
For each new terminal that you open, you will need to source the workspace. This is not very convenient, therefore, add the source command to the .bashrc file:
$ echo "source /opt/ros/foxy/setup.bash && source ~/ros2_ws/install/local_setup.bash" >> ~/.bashrcSetup ROS environment
Since ROS2 has been developed with multi-robot systems in mind, by default, you will be able to see all ROS2 nodes in the same network. If two nodes have the same name, they can create issues and unwanted behaviour. This can either be that two nodes publish to the same topic even though you do not want this, or one node makes the other crash and then a colleague might be confused why his robot stops working.
To avoid this, you can make ROS2 listen only to nodes on your computer:
$ echo "export ROS_LOCALHOST_ONLY=1" >> ~/.bashrcAdditionally, it is possible to work on different Domain IDs. This will define on which ports your ROS2 instance will look into when checking for other nodes. If two computers have different DomainIDs they will not be able to see each other. On the other hand, when the option ROS_LOCALHOST_ONLY is set to 0, two computers with the same Domain ID can see each other, as long as they are in the same network. The default Domain ID is zero:
$ echo "export ROS_DOMAIN_ID=0" >> ~/.bashrcThe next step is to create your first ROS2 node.