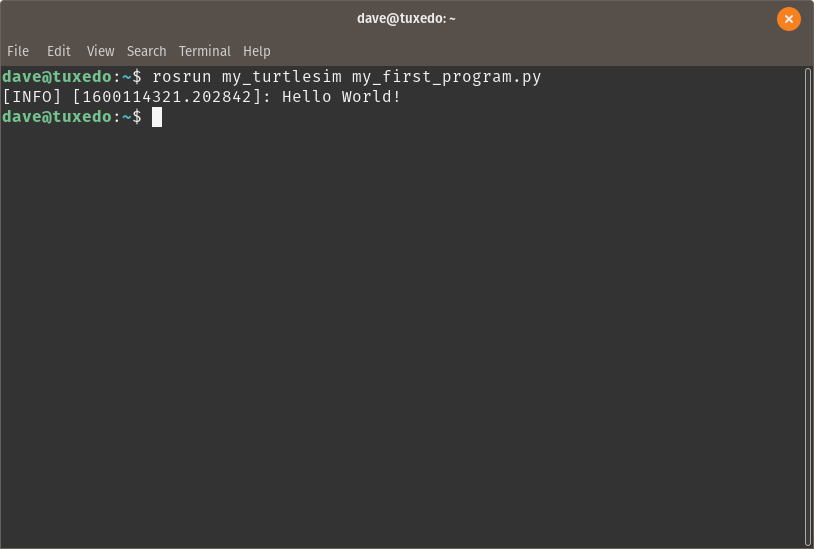
ROS2 allows you to run individual nodes with the command:
$ ros2 run <package_name> <node_name>This is nice and fun if you are just running a couple of nodes at the same time, but imagine you need to run 10-20 nodes like this. That would be really cumbersome to do so. Instead, you can use a so-called launch file. These files allow you to run multiple nodes with a single command.
$ ros2 launch <package_name> <launch_file_name.launch.py>Launch files have another advantage: you can also set different ROS2 parameters that are taken over to the individual nodes, and you can also specify to change topic names. Another nice feature is that you can group multiple nodes into a logical group, especially when these nodes are always started together. For example, if you have a service server that subscribes to a camera topic and saves the image when being called, you want to start the camera node and the service server always together. n this case, a launch file will do the trick.
Create a launch file for a Python package
You have already seen how to start a ROS program by using the ros2 run command. The ros2 run command allows you to start one single program at a time. In most cases, one single program will not be enough to get your robot up and running. In these cases, a launch file will make your life easier.
First, create a directory called launch to organize your package. Therefore, you must be inside your my_turtlesim folder.
$ cd ~/ros2_ws/src/my_turtlesim/
$ mkdir launch
Now, enter the new directory to create a new file. You can do this with your file browser or with the terminal:
$ cd launchIn ROS2, there are 3 different types of launch files: Python files, XML files and YAML files. In ROS1, there were only XML files. Since Python files provide the most flexibility, they are often seen as the default type of launch files in ROS2.
You can create a new Python launch file and open it with your terminal with the following command:
$ gedit my_turtlesim.launch.pyNow, a new window should open up. It shows an empty text file. The launch.py extension is used as a convention to show that it is a launch file and not simply a Python script.
Type the following code into the launch file and save the file:
from launch import LaunchDescription
from launch_ros.actions import Node

def generate_launch_description():
    return LaunchDescription([
        Node(
            package='turtlesim',
            executable='turtlesim_node',
            name='my_turtlesim_node',
            output='screen',
        ),
       Node(
            package='my_turtlesim',
            executable='my_simple_publisher',
            name='my_simple_publisher',
            output='screen',
        )
    ])
You can now save the file and close it.
The first lines import the necessary modules to launch ROS2 nodes.
from launch import LaunchDescription
from launch_ros.actions import Node
Next, a launch description is defined, including all the nodes that you want to launch. In this example, we would like to launch the turtlesim node inside the package turtlesim. The name of the executable is turtlesim_node. This is also the name that you would use when using ros2 run. The name in this case can be used to overwrite the actual node name as defined inside the node. This can be interesting if you launch the same node multiple times and you want to avoid collisions caused by two nodes with the exact same name. The output will define where the ROS2 log entries, which usually appear in the terminal, will be sent to. A launch file will default simply write them in a log file and not display anything on the screen. Here, we actually tell ROS2 to write these log entries on the screen.
def generate_launch_description():
    return LaunchDescription([
        Node(
            package='turtlesim',
            executable='turtlesim_node',
            name='my_turtlesim_node',
            output='screen',
        ),
Inside the launch description, you can also define a second node you want to call. In this case, you can add the simple publisher that makes the turtle move in a circle. This was a package that you created by yourself. The syntax is exactly the same. You indicate the package name, the executable name and the node name.
       Node(
            package='my_turtlesim',
            executable='my_simple_publisher',
            name='my_simple_publisher',
            output='screen',
        )
    ])
Before you can use the new launch file, you need to modify the package.xml file and the setup.py file. Open the package.xml file:
$ gedit ~/ros2_ws/src/my_turtlesim/package.xmlAnd add the following line to the file:
<exec_depend>ros2launch</exec_depend>
Save the file and close it. Now, open the setup.py file:
$ gedit ~/ros2_ws/src/my_turtlesim/setup.pyAnd modify the data_files part by adding the following entry:
(os.path.join('share', package_name, 'launch'), glob('launch/*.py')),
You also need to add some imports at the beginning of the file:
from glob import glob
import os
The file should now look as follows:
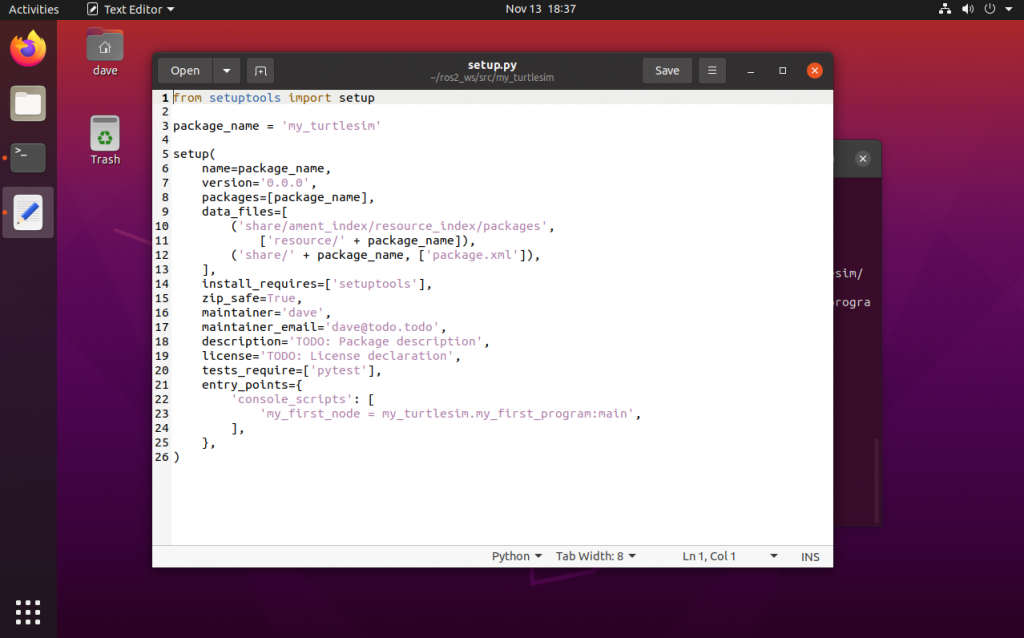
from setuptools import setup
from glob import glob
import os

package_name = 'my_turtlesim'

setup(
    name=package_name,
    version='0.0.0',
    packages=[package_name],
    data_files=[
        ('share/ament_index/resource_index/packages',
            ['resource/' + package_name]),
        ('share/' + package_name, ['package.xml']),
        (os.path.join('share', package_name, 'launch'), glob('launch/*.py')),
    ],
    install_requires=['setuptools'],
    zip_safe=True,
    maintainer='dave',
    maintainer_email='dave@todo.todo',
    description='TODO: Package description',
    license='TODO: License declaration',
    tests_require=['pytest'],
    entry_points={
        'console_scripts': [
            'my_first_node = my_turtlesim.my_first_program:main',
            'my_simple_publisher = my_turtlesim.my_simple_publisher:main',
            'my_simple_subscriber = my_turtlesim.my_simple_subscriber:main',
            'my_service_server = my_turtlesim.my_service_server:main',
            'my_service_client = my_turtlesim.my_service_client:main',
        ],
    },
)
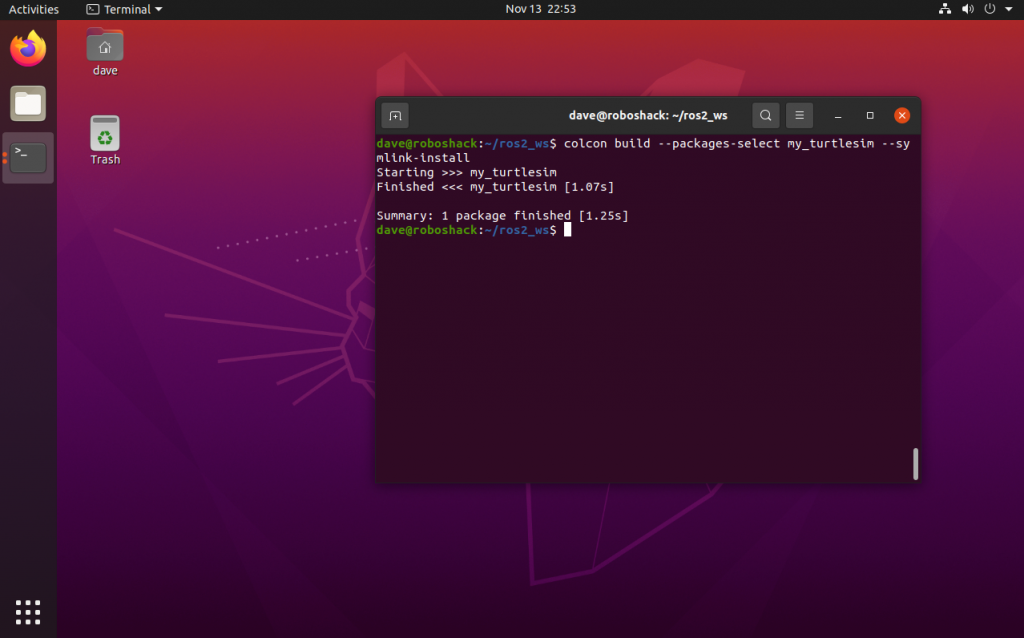
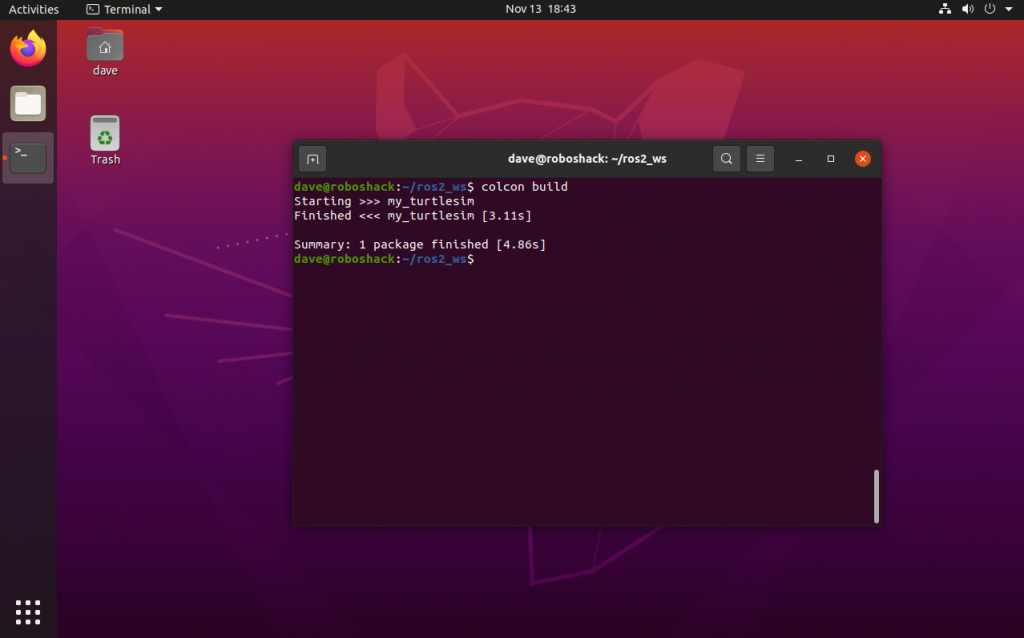
Save the file and close it. With these modifications, we tell the ROS2 package to look for launch files and where to look for them. Now, re-build your workspace and source it again:
$ cd ~/ros2_ws/
$ colcon build --symlink-install
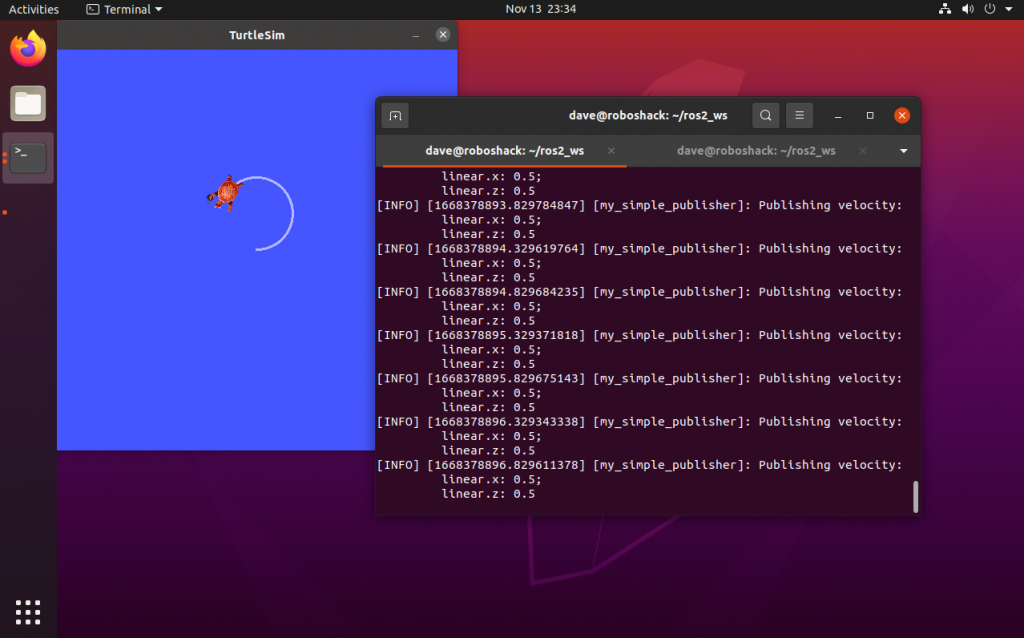
$ source install/local_setup.bashNow, you can launch your new launch file with the following command:
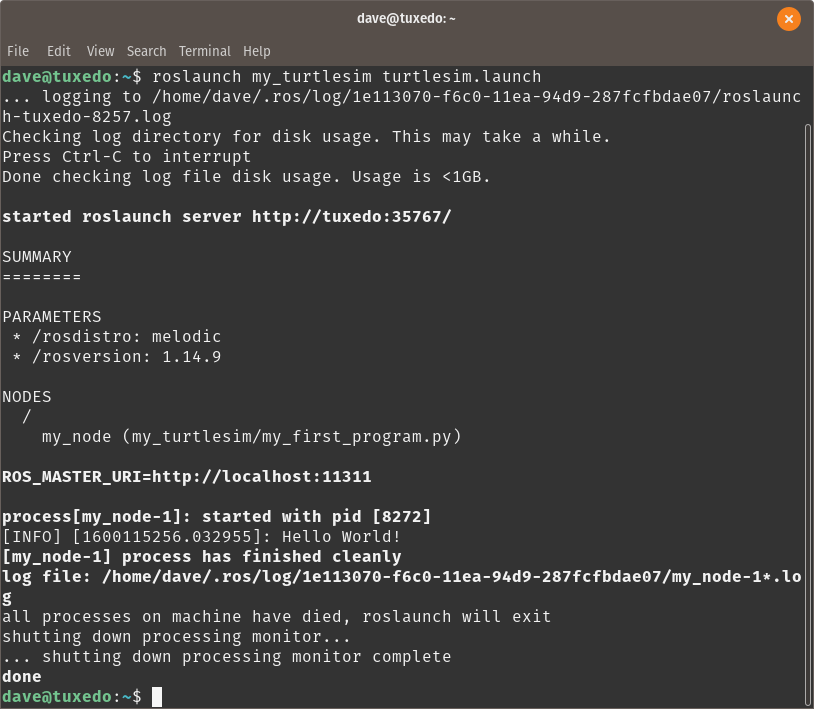
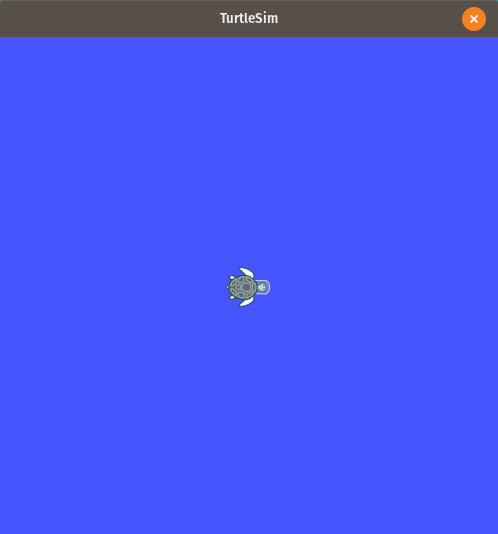
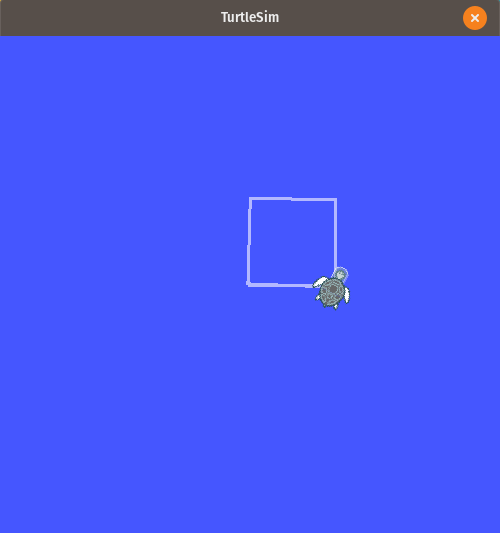
$ ros2 launch my_turtlesim my_turtlesim.launch.pyAs you can see, this command is now starting the turtlesim node and at the same time, it makes the turtle move in a circle. This means, two ROS2 nodes have been started with a single command.
Other Launch File Formats
As mentioned before, there are three types of launch files: Python, XML and YAML. ROS1 programmers will be most familiar with XML launch files. You can create one by opening a new text file:
$ gedit ~/ros2_ws/src/my_turtlesim/launch/my_turtlesim.launch.xmlNow, insert the following code:
<launch>
	<node pkg="turtlesim" exec="turtlesim_node" output="screen" />
	<node pkg="my_turtlesim" exec="my_simple_publisher" output="screen" />
</launch>
Save the file and close it. As you can see, this code is quite different but also much shorter. At the same time, since XML is not a scripting language, it provides less flexibility and functionality than the Python version.
In some cases, it can be interesting to write down the entries in multiple lines, especially when more elements are added to the file:
<launch>
	<node pkg="turtlesim"
          exec="turtlesim_node"
          output="screen" />
	<node pkg="my_turtlesim"
          exec="my_simple_publisher"
          output="screen" />
</launch>
This can add some clarity as all the elements are in a block.
Let’s also create a YAML launch file:
$ gedit ~/ros2_ws/src/my_turtlesim/launch/my_turtlesim.launch.yamlAdd the following code:
launch:
    - node: {pkg: "turtlesim", exec: "turtlesim_node", output: "screen"}
    - node: {pkg: "my_turtlesim", exec: "my_simple_publisher", output: "screen"}
Save the document and close it.
As you can see, the YAML file is even shorter than the XML file. The YAML file has a bit more of a symbol-based syntax where you need to pay attention to put all the brackets, colons and commas in the right position. XML uses tags that make the file more verbose but also more explicit.
Now, you also need to modify the setup.py file again:
$ gedit ~/ros2_ws/src/my_turtlesim/setup.pyJust as with the Python files, you need to tell ROS2 where to look for the launch files. This includes the file extensions .launch.xml and .launch.yaml.
        (os.path.join('share', package_name, 'launch'), glob('launch/*.xml')),
        (os.path.join('share', package_name, 'launch'), glob('launch/*.yaml')),
The entire file should then look like this:
from setuptools import setup
from glob import glob
import os

package_name = 'my_turtlesim'

setup(
    name=package_name,
    version='0.0.0',
    packages=[package_name],
    data_files=[
        ('share/ament_index/resource_index/packages',
            ['resource/' + package_name]),
        ('share/' + package_name, ['package.xml']),
        (os.path.join('share', package_name, 'launch'), glob('launch/*.py')),
        (os.path.join('share', package_name, 'launch'), glob('launch/*.xml')),
        (os.path.join('share', package_name, 'launch'), glob('launch/*.yaml')),
    ],
    install_requires=['setuptools'],
    zip_safe=True,
    maintainer='dave',
    maintainer_email='dave@todo.todo',
    description='TODO: Package description',
    license='TODO: License declaration',
    tests_require=['pytest'],
    entry_points={
        'console_scripts': [
            'my_first_node = my_turtlesim.my_first_program:main',
            'my_simple_publisher = my_turtlesim.my_simple_publisher:main',
            'my_simple_subscriber = my_turtlesim.my_simple_subscriber:main',
            'my_service_server = my_turtlesim.my_service_server:main',
            'my_service_client = my_turtlesim.my_service_client:main',
        ],
    },
)
Save the file and close it. Head back to the root directory of the workspace, build the package and source the workspace again:
$ cd ~/ros2_ws/
$ colcon build --symlink-install
$ source install/local_setup.bash
You can launch the XML launch file with the following command:
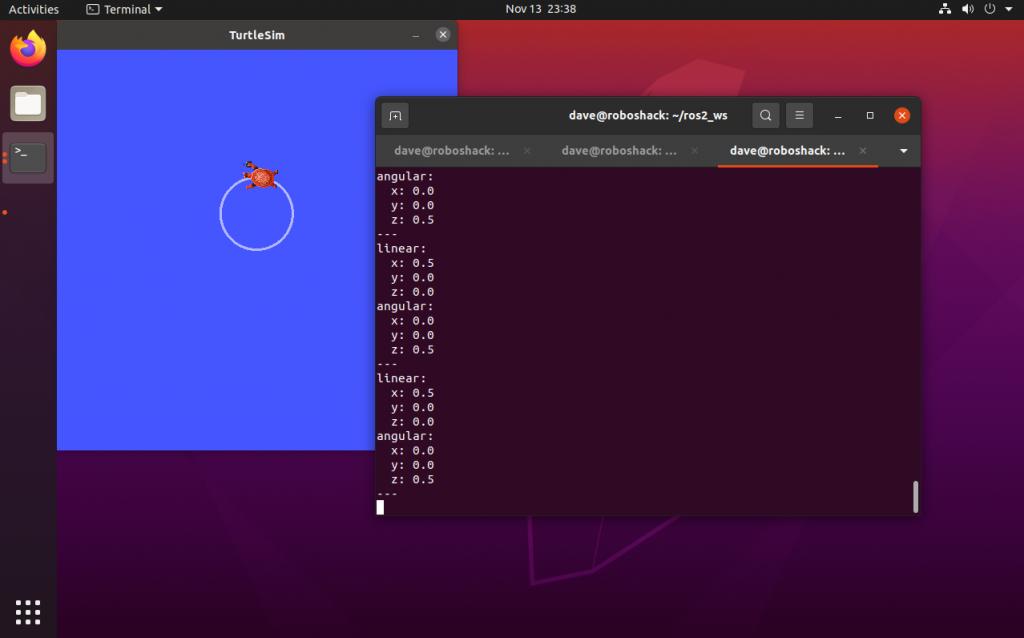
ros2 launch my_turtlesim my_turtlesim.launch.xmlAnd the YAML file with the following command:
ros2 launch my_turtlesim my_turtlesim.launch.yamlThe XML and the YAML files will start the turtlesim node and make it move in a circle, just like the Python version.