You want to create your own ROS package? Have a look at the Creating ROS Packages guide and learn more about packages and launch files.
Tag: rosrun
Creating ROS Packages
After you learned how to use a ROS package, you will learn how to create your own ROS package.
Create a Package
Creating a package is done by using the catkin environment as each ROS package is following the catkin format. First, you need to go to your catkin workspace which is called catkin_ws. Open a terminal and type:
cd ~/catkin_wsNext, you need to enter the src directory which stores the source code of your own packages:
cd srcYou can create a new ROS package with the following command:
catkin_create_pkg <package_name> <dependencie_1> <dependencie_2> <dependencie_3> <...>Here, the <package_name> is the name of your package. Note that you can not simply change that name after you created it as you will need to modify the CMakeLists.txt file and the package.xml file. The <depenencies> are entries in the CMakeLists.txt and package.xml files that allow ROS to include some libraries that you can use. For Python programs, you need to add the dependency rospy and for C++ programs, you need to add roscpp. If you use libraries for navigation, sensor data collection or something else, you can also add these dependencies here.
For you package, you will simply add the rospy dependency and you can call the package my_turtlesim.
catkin_create_pkg my_turtlesim rospyIt is a convention to name packages with lower case names combined with an underscore. This notation is also called snake case.
Now, a new directory has been created containing a CMakeLists.txt file and the package.xml file and a folder called src. This folder is meant to contain the C++ source code. This is why many people and tutorials make a new directory for Python scripts called scripts. Therefore, type the following in your terminal:
cd ~/catkin_ws/src/my_turtlesim/
mkdir scripts
If you also have a robot model, configuration files or documentation to your package, you can create more folders and store the files in the correct folder.
Create a ROS Python Program
Now, you can create your first ROS program with Python. Enter the scripts directory with your terminal:
cd scriptsYou need to create a new file with the file extension .py in order to have a Python file. You can create a new file and open it with your terminal with the following command:
gedit my_first_program.pyYou will see that a new window will open on your screen with an empty text file. This is where you will write your first ROS program in Python.
Write the following code in your file and save the file:
#!/usr/bin/env python

import rospy

if __name__ == "__main__":
    rospy.init_node("my_first_node")
    rospy.loginfo("Hello World!")
Note: in order to use the ROS tools inside a Python script, you need to import rospy. Also, as every ROS program is running as a node, you need to declare a name for your node with the rospy.init_node(“my_first_node”) function. Each ROS node needs to have a name as otherwise the roscore doesn’t know which node is executing code. This means, one of the first things you want to do in your programs is to declare the name of the node.
Before you can run your program, you need to make the Python file executable, this means to give this file permissions from your system to be executed as a program. Usually, files only have the permission to be read as a file or to be modified. This is also known as read-write permission. To add the permission to execute the file, make sure you are in the scripts directory and type the following command in your terminal and press ENTER:
chmod +x my_first_program.pyMaking Python files executable is required for each Python file you create but you only need to do this process once for each Python file. You can run your Python program with the following command:
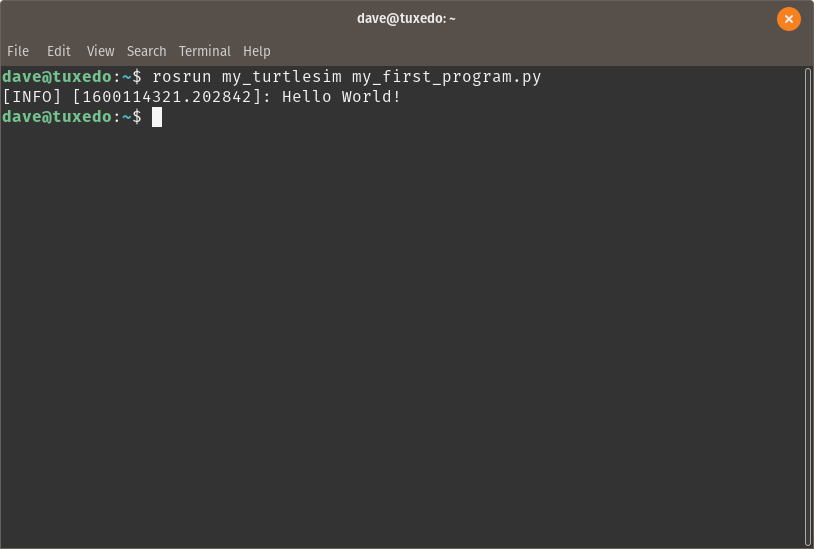
rosrun my_turtlesim my_first_program.pyThe terminal in which you started the Python program should output some text as you can see below:
Tip: you don’t need to type the entire command by yourself. If you start typing a word, you can double tap the TAB key on your keyboard to auto-complete the commands in your terminal.
Note: if your computer doesn’t show your ROS package, first make sure you actually have spelled the names correctly and that the package actually exists. Also, if the package is new, ROS might not know about it yet. Therefore, type the following to list all the packages on your system, after that, ROS should be able to auto-complete the name of your package as well:
rospack listThe above command will list all the installed ROS packages on your computer. As ROS is going through the entire system, it will probably find your package and add it to its known packages.
Create a launch file
You have already seen how to start a ROS program by using the rosrun command. The rosrun command allows you to start one single program at a time. In most cases, one single program will not be enough to get your robot up and running. In these cases, a launch file will make your life easier.
First, create a directory called launch to organize your package. Therefore, you must be inside your my_turtlesim folder.
cd ~/catkin_ws/src/my_turtlesim/
mkdir launch
Even though, there is no requirement to call this directory launch, it is a widely used convention. The best idea is, to stick to these conventions as they make life easier for you and your team.
Now, enter the new directory to create a new file. You can do this with your file browser or with the terminal:
cd launchYou can create a new file and open it with your terminal with the following command:
gedit turtlesim.launchNow, a new window should open up. It shows an empty text file. The launch extension is actually a XML file type that is used to create and structure a launch file for ROS.
Type the following code into the launch file and save the file:
<?xml version="1.0" encoding="UTF-8"?>

<launch>

    <node
        name="my_node"
        pkg="my_turtlesim"
        type="my_first_program"
        output="screen"/>

</launch>
Note: unlike Python programs, you do not need to make the launch file executable.
You can simply start it with the following command in a new terminal:
roslaunch my_turtlesim turtlesim.launchThe above command will give you the following result:
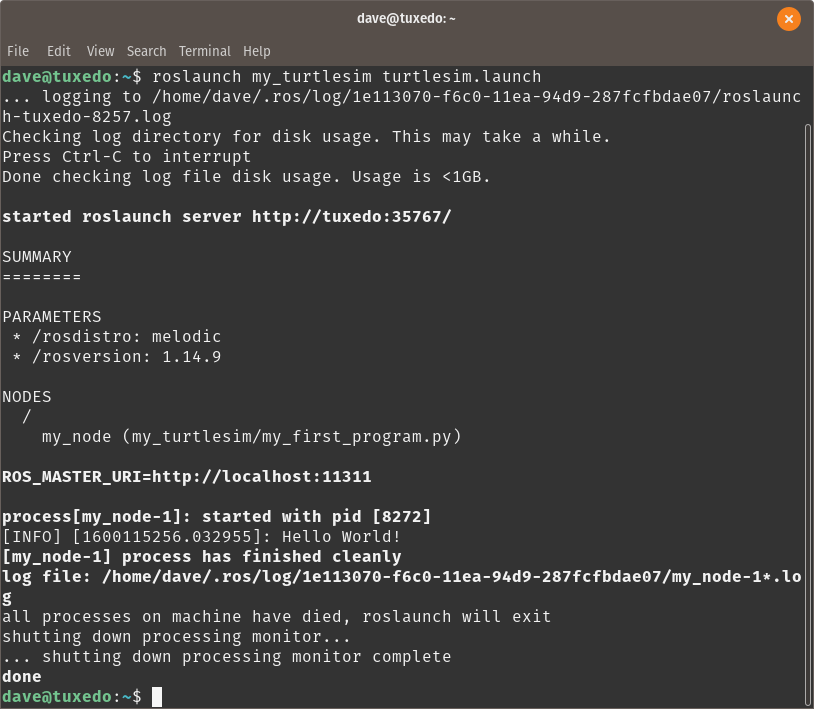
You can see that the roslaunch method of starting a program outputs much more in the terminal. This is because there is much more going on. At first, ROS will check if there is already a roscore running and if not, it will start the roscore. Next, it will start the programs that are listed in the launch file.
As you added the line output=”screen” to the launch file, it will print the output on the terminal, otherwise it would not show anything from the started programs.
You can now change the content of the launch file into the following code:
<?xml version="1.0" encoding="UTF-8"?>

<launch>

    <node
        name="turtlesim_node"
        pkg="turtlesim"
        type="turtlesim_node"
        output="screen"/>

    <node
        name="draw_square"
        pkg="turtlesim"
        type="draw_square"
        output="screen"/>

</launch>
Save the file and launch it again with:
roslaunch my_turtlesim turtlesim.launchYou should now see that the turtlesim window is opening and the turtle is immediately starting to move in a square pattern. The launch file has now started two ROS programs at the same time. This makes many things much easier. On top of that, you do not need to first start the roscore as the launch file is already starting it for you.
Explanation of the Launch File
The launch file is written in XML syntax. This means you have tags that are indicating the type of content. The following tag tells your computer what type of file the launch file actually is:
<?xml version="1.0" encoding="UTF-8"?>
The content of your launch file will then be written inside the launch tags:
<launch>

</launch>
Lastly, the node tags describe what ROS program you want to run. This is indicated with the following lines:
    <node
        name="turtlesim_node"
        pkg="turtlesim"
        type="turtlesim_node"
        output="screen"/>
Here, the syntax is as follows:
    <node
        name="<name_of_the_node>"
        pkg="<name_of_the_package>"
        type="name_of_the_program_file"
        output="screen"/>
In this context, the <name_of_the_node> refers to the name you used inside the rospy.init_node() statement. As you do not know the exact name of the turtlesim_node source file, you can just assume it has the same name as the program name. The <name_of_the_package> is the name of the ROS package that contains the wanted ROS program. The <name_of_the_program_file> is the name of the Python file with the .py extension or the name of the compiled C++ program which doesn’t have any extension in Linux.
The output=”screen” will make sure that all text will still be shown on the terminal. On a robot, you do not need this but for running programs on your computer with a screen, this is helpful to see what is happening. In case you create a launch file and you don’t see output in your terminal, check if this is missing.
With this, you have learned how to run and how to create ROS packages. Next, you will learn how to subscribe and publish to Topics.
Using ROS Packages
The following article will explain what a ROS package is and how you can use them to run programs in ROS, the Robot Operating System.
What are ROS Packages?
As mentioned earlier, every program in ROS is delivered as a package. A package can contain various types of files where the most important files are the CMakeLists.txt file and the package.xml file. These two files are automatically generated when you create a package. These files contain information about the package so it can be build, which means the source code can be compiled so that you can run the programs. This means, that packages usually also contain the source code of the programs you want to run.
Now that you have an idea what a package is, you can see how you can run them.
Running a ROS package
Before running a ROS program, you need to do a couple of extra steps in advance. These steps are to build the catkin workspace, start the roscore and then starting the actual program.
The catkin workspace
A catkin workspace is a directory on your computer that follows some specific guidelines. These make it easier for the software using the directory and its files to find what it needs, in this case, the source code of your software.
To build your catkin workspace which you have created during the installation of ROS, you type the following two commands, assuming you called your catkin workspace also catkin_ws:
cd ~/catkin_ws
catkin_make
After catkin has finished, you can now start a roscore and then run the software.
Starting ROS
Before you can run any ROS program, you need to start a roscore. This can be done by opening a terminal and typing the following text and then hitting ENTER on the keyboard:
roscoreStarting the roscore in the terminal should output something similar to the following image:
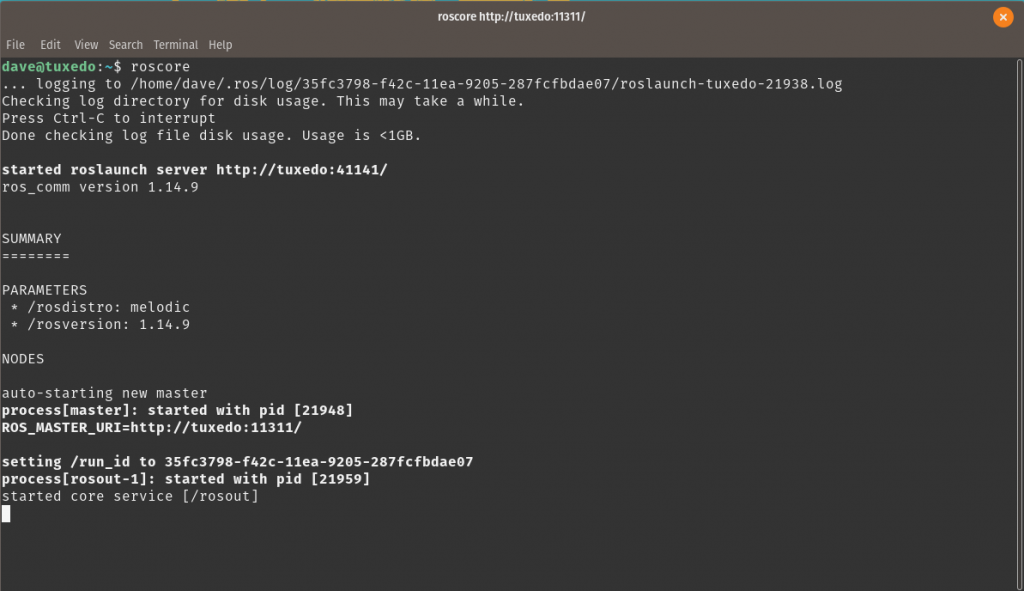
Now, the roscore should be running and the computer is ready to run ROS programs. Note: only one single roscore can run in the same robotic system at the same time, so you only need to do this step once.
If the roscore dies, you need to restart it. You can also stop the roscore by pressing CTRL+c on your keyboard.
Running a ROS program
Now, it is time to start a real ROS program. Therefore, you need to open a new terminal and then you can run a program with the following syntax:
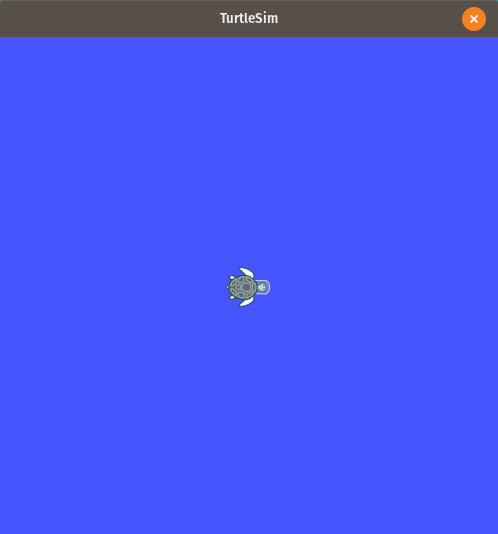
rosrun <ros_package> <ros_program>Of course, the <ros_package> and the <ros_program> are placeholders and need to be replaced by an actual package and program name. For example, you can run the turtlesim program which is an animated 2D turtle that can be controlled with ROS commands just like a real robot.
rosrun turtlesim turtlesim_nodeNow, a little window should open on your screen and you should see a little turtle in the middle of a colored canvas.
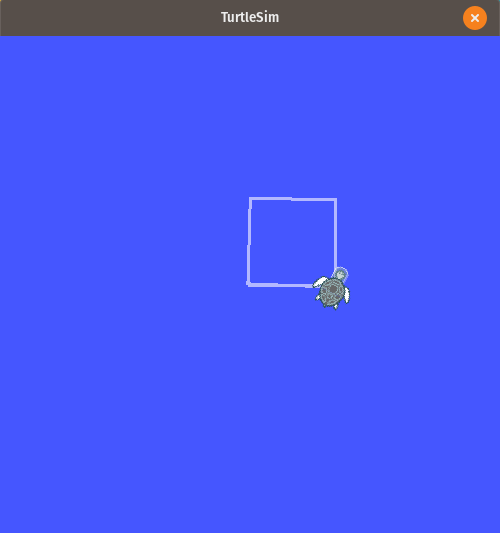
Next, you can interact with the turtle by starting another node by opening a new terminal and typing:
rosrun turtlesim draw_squareThe turtle will start moving in a square shape and it will draw a line on the canvas where it is moving:
At this point, you have two ROS programs running that interact with each other. As mentioned earlier, each ROS program is running as a node. These nodes can be visualized with a program called RQT. You will learn more about this software later, but here is the graph that this software will generate for your current setup:

You have two nodes running and they communicate by using Topics. In the next article, you will learn how to create your own package and how you can simplify the process of starting multiple ROS programs at the same time.